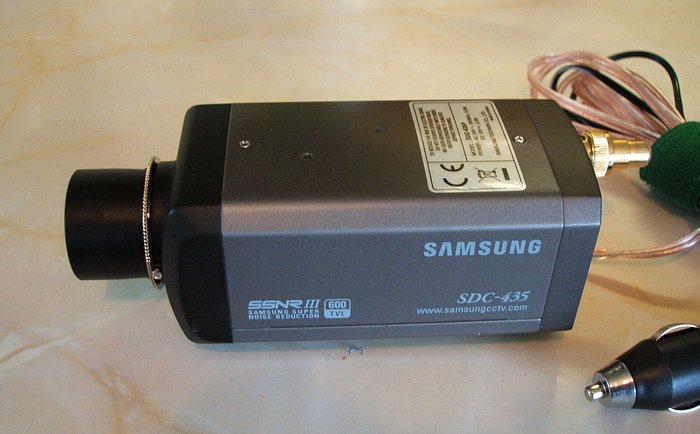
Screws at the top and bottom of the camera housing are removed. This allows the top and bottom parts to be removed exposing the internal circuit boards.
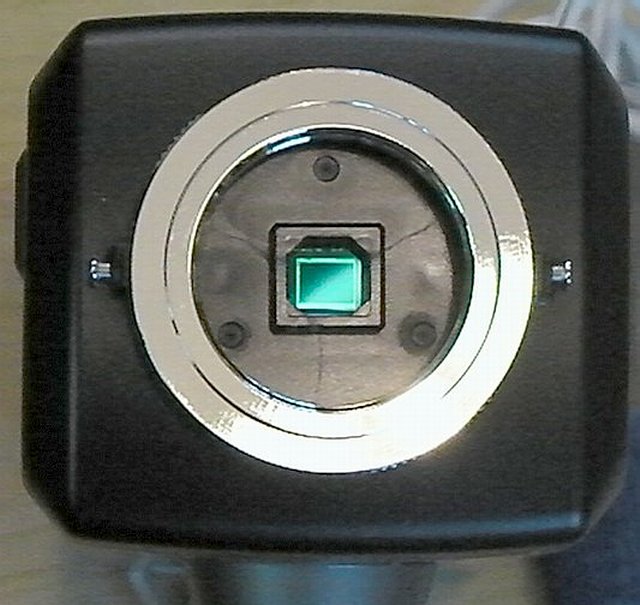
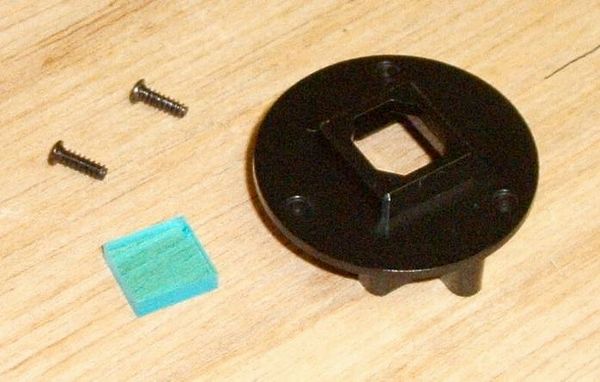
The front board which houses the CCD and the blue filter it attached by small screws to the front metal housing of the camera. It is attached to the main circuit board that runs from the front to the back of the camera by two ribbon cables. These are gently detached and the screws holding the filter assembly are removed. The assembly is shown below. The camera is then re-assembled.
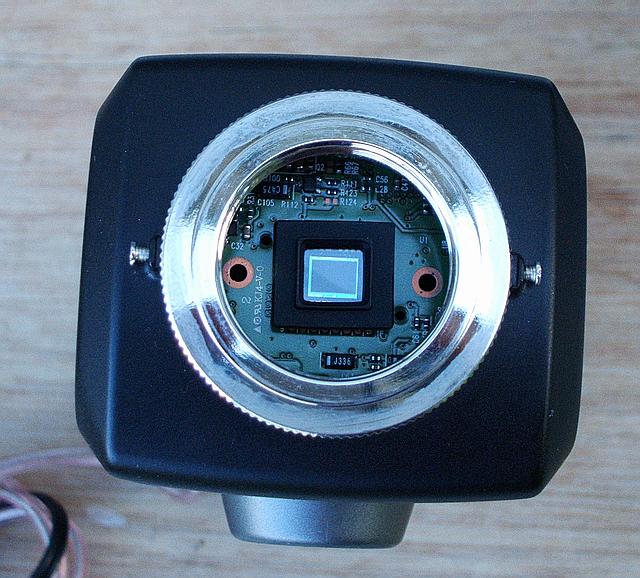
The two screw holes can be seen through which the screws attaching the filter assembly passed.
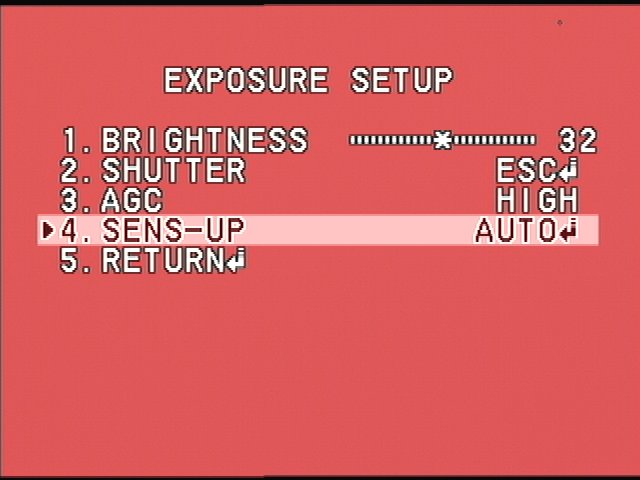
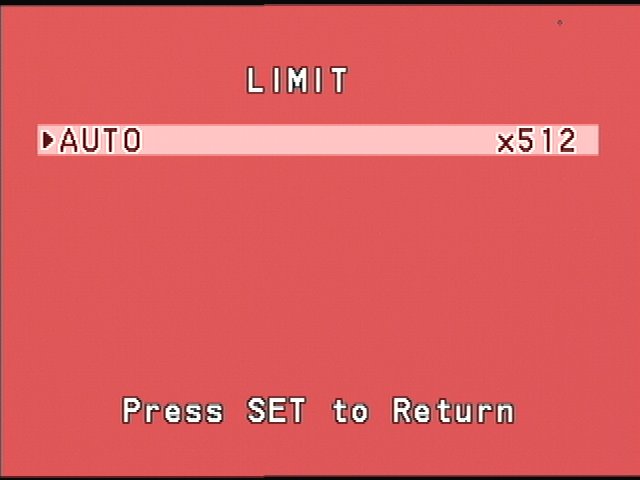
These are the settings on the OSD to set the camera up for deep-sky observing

Changes to the White Balance produce the correct colour balance in the image. The settings were obtained by fitting a lens to the camera and adjusting the Red and Blue gain in daylight to produce an image with correct colours.
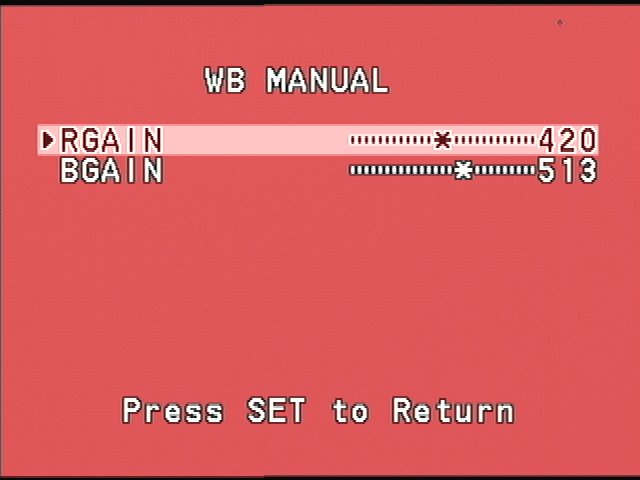
These settings work but the user should experiment.
Steve Wainwright